

Life from my point of view as a Stay at Home Mum. Sharing recipes, play ideas, frugal fashion and a bit of crafting too!
Wednesday, October 26, 2011
Craft: Paper Strips
I always end up with leftover odds and ends of paper, and I have finally found a way to use them all up instead of my usual card borders. Here is a layout I did of my son when he was five months old. It is very simple- I just added different widths and lengths of paper strips behind the photo and then added some journalling and a title. The whole page took me less than 15 minutes and the paper doesn't distract from the photo or journalling.


Tuesday, October 25, 2011
Food: Banana Peanut Butter Muffins
If you are like me, you always have a banana or two lying around that is past the eating stage. And banana chocolate chip muffins, while popular in my house, get a bit boring after a while. I found this recipe on Baking Bites and it is very delicious! The peanut butter gives the muffins an interesting flavour and the oatmeal and lack of butter or white sugar makes it healthier than other banana muffins.
Banana Peanut Butter Muffins
Ingredients:
 1 1/2 cups all purpose flour
1 cup instant oats*
1 tsp baking powder
1/2 tsp baking soda
1/2 tsp salt
2 tbsp vegetable oil
3/4 cup brown sugar
2 large eggs
1 cup mashed banana (about 2 med.)
6 tbsp peanut butter (pref. creamy)
1 cup milk1 tbsp white vinegar
*If you do not have instant oats, you can grind regular porridge oats in the food processor to make them smaller.
Preheat oven to 180 degrees Celcius. Lightly grease a 12-cup muffin tin.
In a large bowl, whisk together flour, oats, baking powder, baking soda and salt.
 Place the milk in a cup and add the vinegar, and let sit for 3 minutes until the milk has curdled. (This is how to make buttermilk if you don't have proper buttermilk on hand.)
 In a medium bowl, whisk together vegetable oil, brown sugar, eggs, mashed banana, peanut butter and milk until very smooth, making sure all egg has been well-incorporated.

Pour into flour mixture and stir until no streaks of flour remain.

Divide batter evenly into prepared muffin tin, filling each just about up to the top. I made some regular sized ones for my husband, and mini muffins for my toddler.

Bake for 16-20 minutes, until a toothpick inserted into the center comes out clean and the top springs back when lightly pressed.
Remove muffins from tin and cool on a wire rack.

Banana Peanut Butter Muffins
Ingredients:

1 cup instant oats*
1 tsp baking powder
1/2 tsp baking soda
1/2 tsp salt
2 tbsp vegetable oil
3/4 cup brown sugar
2 large eggs
1 cup mashed banana (about 2 med.)
6 tbsp peanut butter (pref. creamy)
1 cup milk1 tbsp white vinegar
*If you do not have instant oats, you can grind regular porridge oats in the food processor to make them smaller.
Preheat oven to 180 degrees Celcius. Lightly grease a 12-cup muffin tin.
In a large bowl, whisk together flour, oats, baking powder, baking soda and salt.


Pour into flour mixture and stir until no streaks of flour remain.

Divide batter evenly into prepared muffin tin, filling each just about up to the top. I made some regular sized ones for my husband, and mini muffins for my toddler.
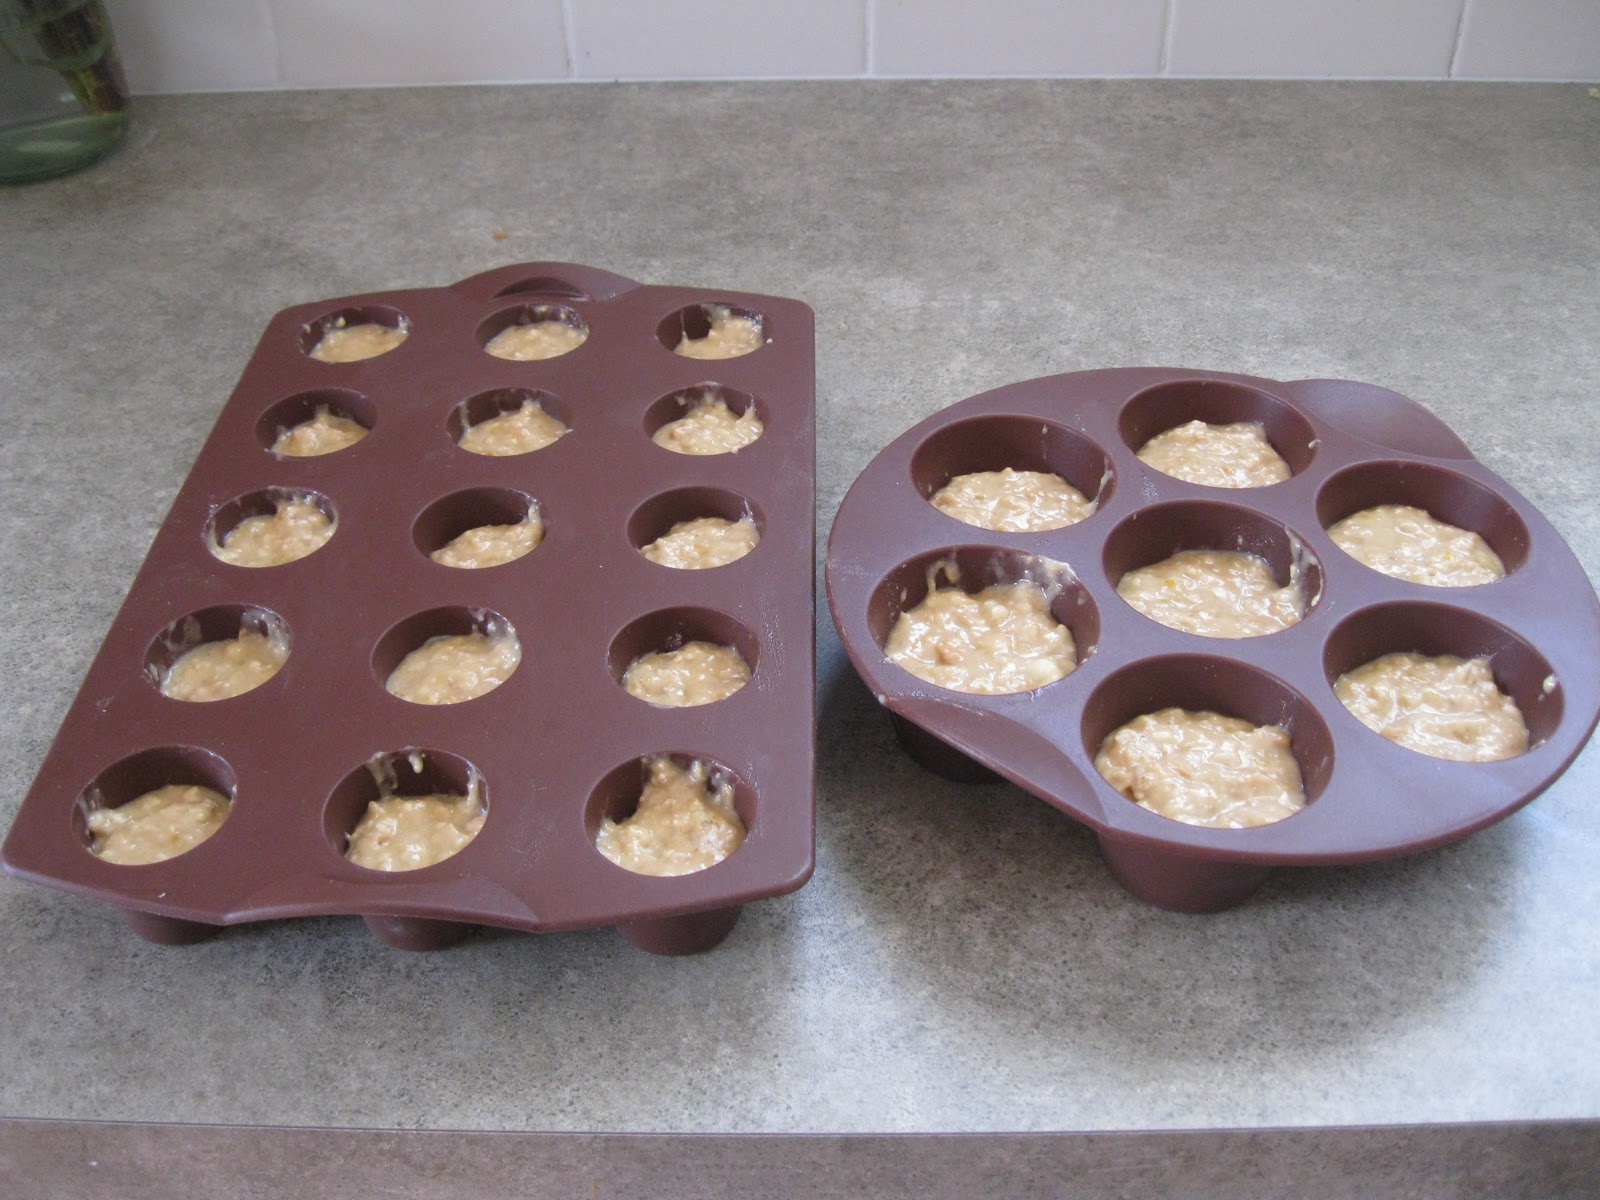
Bake for 16-20 minutes, until a toothpick inserted into the center comes out clean and the top springs back when lightly pressed.
Remove muffins from tin and cool on a wire rack.

Monday, October 17, 2011
Craft: ABC Book
I have finally finished a book I plan to give my son for Christmas. I found a lot of people doing ABC books for their children on some scrapbooking forums I visit, so I decided to give it a go myself. I wanted to really personalise it with photos of my son with the people and things he loves. Here is a selection of some of my favourite pages from the book.


Friday, October 14, 2011
Craft:Scrap FX challenge
I have been working hard on some challenges to keep me motivated, and here is my latest effort! My husband's cousin has just become a father and so I thought I would make a card for them. His wife is Spanish, hence the Spanish title.
The challenge that this was inspired by is from Michelle Logan's blog- http://mlogandesigns.blogspot.com/ She makes some amazing layouts and so when she issued this challenge I thought it would make me step outside of my comfort zone as I do not like working with the colour pink. The criteria for the card, layout or altered project were:

The background cardstock was pink, as well as the polka dotted paper and the flower. The flower is chipboard and I applied some pink and gold shimmer ink to it. I also embossed some butterflies with polka dots and adhered them to the card to give a nice 3D efect. I particularly like the pink button I put in the middle of the chipboard flower for the finishing touch. I hope you like it Michelle!
The challenge that this was inspired by is from Michelle Logan's blog- http://mlogandesigns.blogspot.com/ She makes some amazing layouts and so when she issued this challenge I thought it would make me step outside of my comfort zone as I do not like working with the colour pink. The criteria for the card, layout or altered project were:
- Follow her blog
- Pink
- Chipboard
- Paint/mist/ink

The background cardstock was pink, as well as the polka dotted paper and the flower. The flower is chipboard and I applied some pink and gold shimmer ink to it. I also embossed some butterflies with polka dots and adhered them to the card to give a nice 3D efect. I particularly like the pink button I put in the middle of the chipboard flower for the finishing touch. I hope you like it Michelle!
Saturday, October 1, 2011
Craft: International Card Making Day
Today is International Card Making Day, and so I will have lots of projects to share with you over the upcoming days incuding a beautiful foldout friendship card. Sorry I have been so quiet recently- I have been very busy trying to finish my Earthquake album and also a cross stitch. In the meantime, here is a glance of some of the projects I have finished.


Friday, September 2, 2011
Craft: Father's Day Card
Father's Day is this Sunday here in New Zealand, so here is a quick an easy card to whip up using paper scraps.

Oragami Shirt and Tie Father's day Card.
You will need:
One sheet patterned paper
12 inch Rotary trimmer with straight and scoring blades
Tape runner or other similar adhesive
Cardstock in 2 colours -a light colour and darker colour to match the patterned paper
Small scrap of matching plain paper
Happy Father's Day stamp- from teeny Tiny Sentiments stamp set
Brads to match your coloured paper

Firstly, cut your patterned paper to 4x6 inches, keeping the cut offs aside for later.

Change to the scoring blade and score down each long side at about 1 1/4 inches in.

Flip the paper over and then fold up the bottom of the paper in about half an inch, like so:

Flip the paper over again and fold in the corners of the folded over edge to meet in the middle.

Take the bottom sides and fan them out, then add adhesive to the sides and along the bottom.

Fold the fanned up sides and bottom of the paper towards the top of the card to form a square.

To make the tie, take your plain paper and cut it into a 2x2 inch square.

Fold the square in half then unfold it.

Fold the two bottom edges up to meet in the middle and make a kite like shape.

Fold up the bottom third of the point towards the triangle.

Flip the paper towards you so that the triangle is at the top, fold it back, and then turn it over again. It should look like this (minus the manky finger!):

Turn it back over and fold the triangle piece up the top and let it overlap slightly.

Turn the peice of paper over again and stick the overlapping piece down, and then fold in the two sides in a kite shape once again, adhering them to the paper.

When you turn it back over you should have your tie!

Stick the tie on to the front of the shirt, and there you have your finished shirt and tie.

To make your card, cut the darker coloured cardstock to 6x10 inches, and then score at 5 inches.

With your lighter coloured cardstock, cut it to 4x5 inches.

Punch brads through the top two corners of lighter cardstock, then adhere to the darker card with tape runner.

Stick on the oragami shirt and tie.

Using the shirt cutoff, attach a strip to bottom of the lighter cardstock.

To make the title, stamp the Happy Father's Day greeting using co-ordinating ink (I used Bashful Blue) onto a scrap of the lighter coloured cardstock, then mat with the darker cardstock.

Stick this onto the card between the shirt strip and the lighter cardstock, and there you have it, a cute Father's Day card that the man in your life will love.

Wednesday, August 17, 2011
Craft: Wedding Card
This is just a quick post- I forgot to take pictures of the process as it was happening!

I made this card for an upcoming wedding. I used Cement coloured cardstock and scraps of paper I had left over from an old Cherish Paper Pack. I doodled the brackets using the Creative Memories Doodling Templates and then cut them out and adhered them using 3D foam squares. The heart sticker and the row of words were from random stickers I had. Finally, I stamped the words using Chocolate Chip Stampin' Write Marker on the Teeny Tiny Sentiments stamp set. It was very quick to make and I hope my friend will like it.
Subscribe to:
Posts
(
Atom
)
